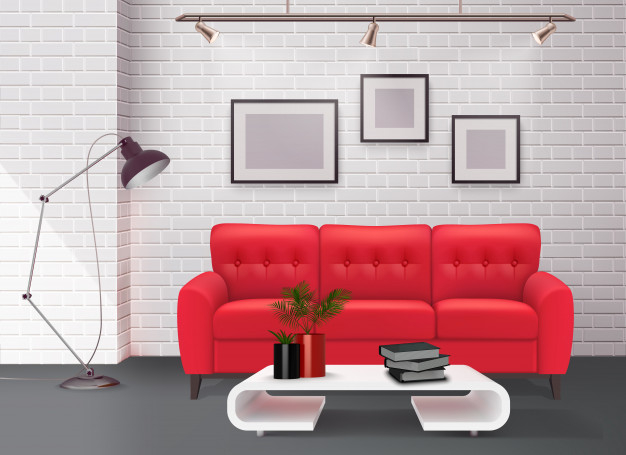
We all love our homes, it’s the place where tend to spend most of our lives. A place where 3 generations spend time together. Over time, we wish to do a makeover of our houses, since changing houses is expensive and not anyone can afford it. Neither can most of us afford interior designers who can give a makeover to our house. Recently people tend to follow the “DIY trend”, hence many individuals tend to take the command in their hands to get creative.
However, there is an issue with that giving makeovers to a house is an expensive process, the paint, the furniture and the artificial lighting all are expensive processes. Hence, planning and having adequate knowledge is important to truly change your house in the way you want.
We suggest you take recommendations from an expert, but who cares. Taking risks and getting adventurous is fun. We have gathered a few basic rules and tips that will help you to redefine your house.
Step 1: Take the measurements of your room
Measure your room and mark it on a piece of paper. Then, add the tailored shapes of the furniture to find their ideal location in the room, while keeping in mind how people move in the room.
Step 2: Identify the best natural lighting
Determine the best source of natural light in the room, whether it is a door or window, in order to decide where to place additional artificial lighting
Step 3: Choose what to plan your design around
It is always a good idea to choose what objects, furniture or even floor coverings to plan your interior design. Ideally, the items you choose should have a style that inspires you to choose a decorative style.
Step 4: Decide on colours
Next, decide on the colours you want to use in the room. In general, it’s best to limit yourself to three colours, and then experiment by using variations of these colours and making adjustments.
Step 5: Gather a colour patchwork
Collect patchwork materials of your chosen colour to help you express yourself in future interior design. Remember to consider furniture, curtains, walls, floors and doors to create a harmonious finish. To help you think about the whole, please take a few pictures of your room. In this way, you can imagine the appearance of colours and tones in the space.
Step 6: Start with the walls
Whether you choose to paint or wallpaper, your walls are definitely the main source of colour in the room, unless you keep them in neutral tones to accentuate the colours used elsewhere. If you want the room to look bigger, choose bright or clear colours and contrast the walls with the white ceiling.
Step 7: Consider the floor
Using the patchwork of swatches, determine the material with which you want to cover your floor. Try to choose a floor colour that contrasts somewhat with the walls—for example, two tones lighter or darker. Also, think about how the natural light will reflect on the floor; lacquered or matte finishes will give quite different effects. The flooring can also contribute to give depth to a room, for example by using very long planks.
Step 8: Position your furniture
Once you’ve created the overall look of your room, position your furniture. Don’t hesitate to try different combinations to see what works best. Add the finishing touches using decorative objects, without cluttering the space and keeping the colour balance.
Step 9: Prioritize your artificial lighting
By shaping the space at night and giving it a special atmosphere, lighting plays a very important role in the room. When installing lighting, experiment by placing lights around the room. Because hanging lights tend to narrow the room visually, you can consider embedding spotlights in the ceiling, which can provide soft and more directional lighting.
Step 10: Own your style
By experimenting and looking at things from different perspectives, you’ll develop an eye for what works for you. The web is also a great source of visual resources featuring professional photographers and interior designers: take a look around and get inspired.

